Sash windows add an incredible amount of character and aesthetic appeal to any home – whether you’re looking to lean into the beauty of a more historic building, or want to add a touch of classical elements to the home you love. However, they don’t stay looking perfect forever.
It is recommended that you repaint your wooden windows every 18 to 24 months to both revitalise their appearance and provide ample protection from the elements. However, this doesn’t need to be a task you refer to a professional for. DIY-ing your sash window repaint is incredibly easy to do, and this guide will provide you with the top 5 tips to give your windows the most professional finish – without the cost!
Why should you repaint your box sash windows?
1. Protection against the elements
Sash windows are constantly exposed to the elements, which over time can cause your windows to degrade and become damaged, leading to wood rot, decay and warping. Repainting your sash windows provides a protective barrier against moisture and UV rays, preventing elemental damage and extending the windows’ lifespan.
2. Preservation of wood
As sash windows are traditionally made from wood, using specialist paint and primers can help seal the wood and protect it from the risk of rot, mould, insect infestations, decay and deterioration. Keeping your sash windows painted and protected preserves the wood’s structural integrity and can help you avoid costly repairs or window replacements in the future.
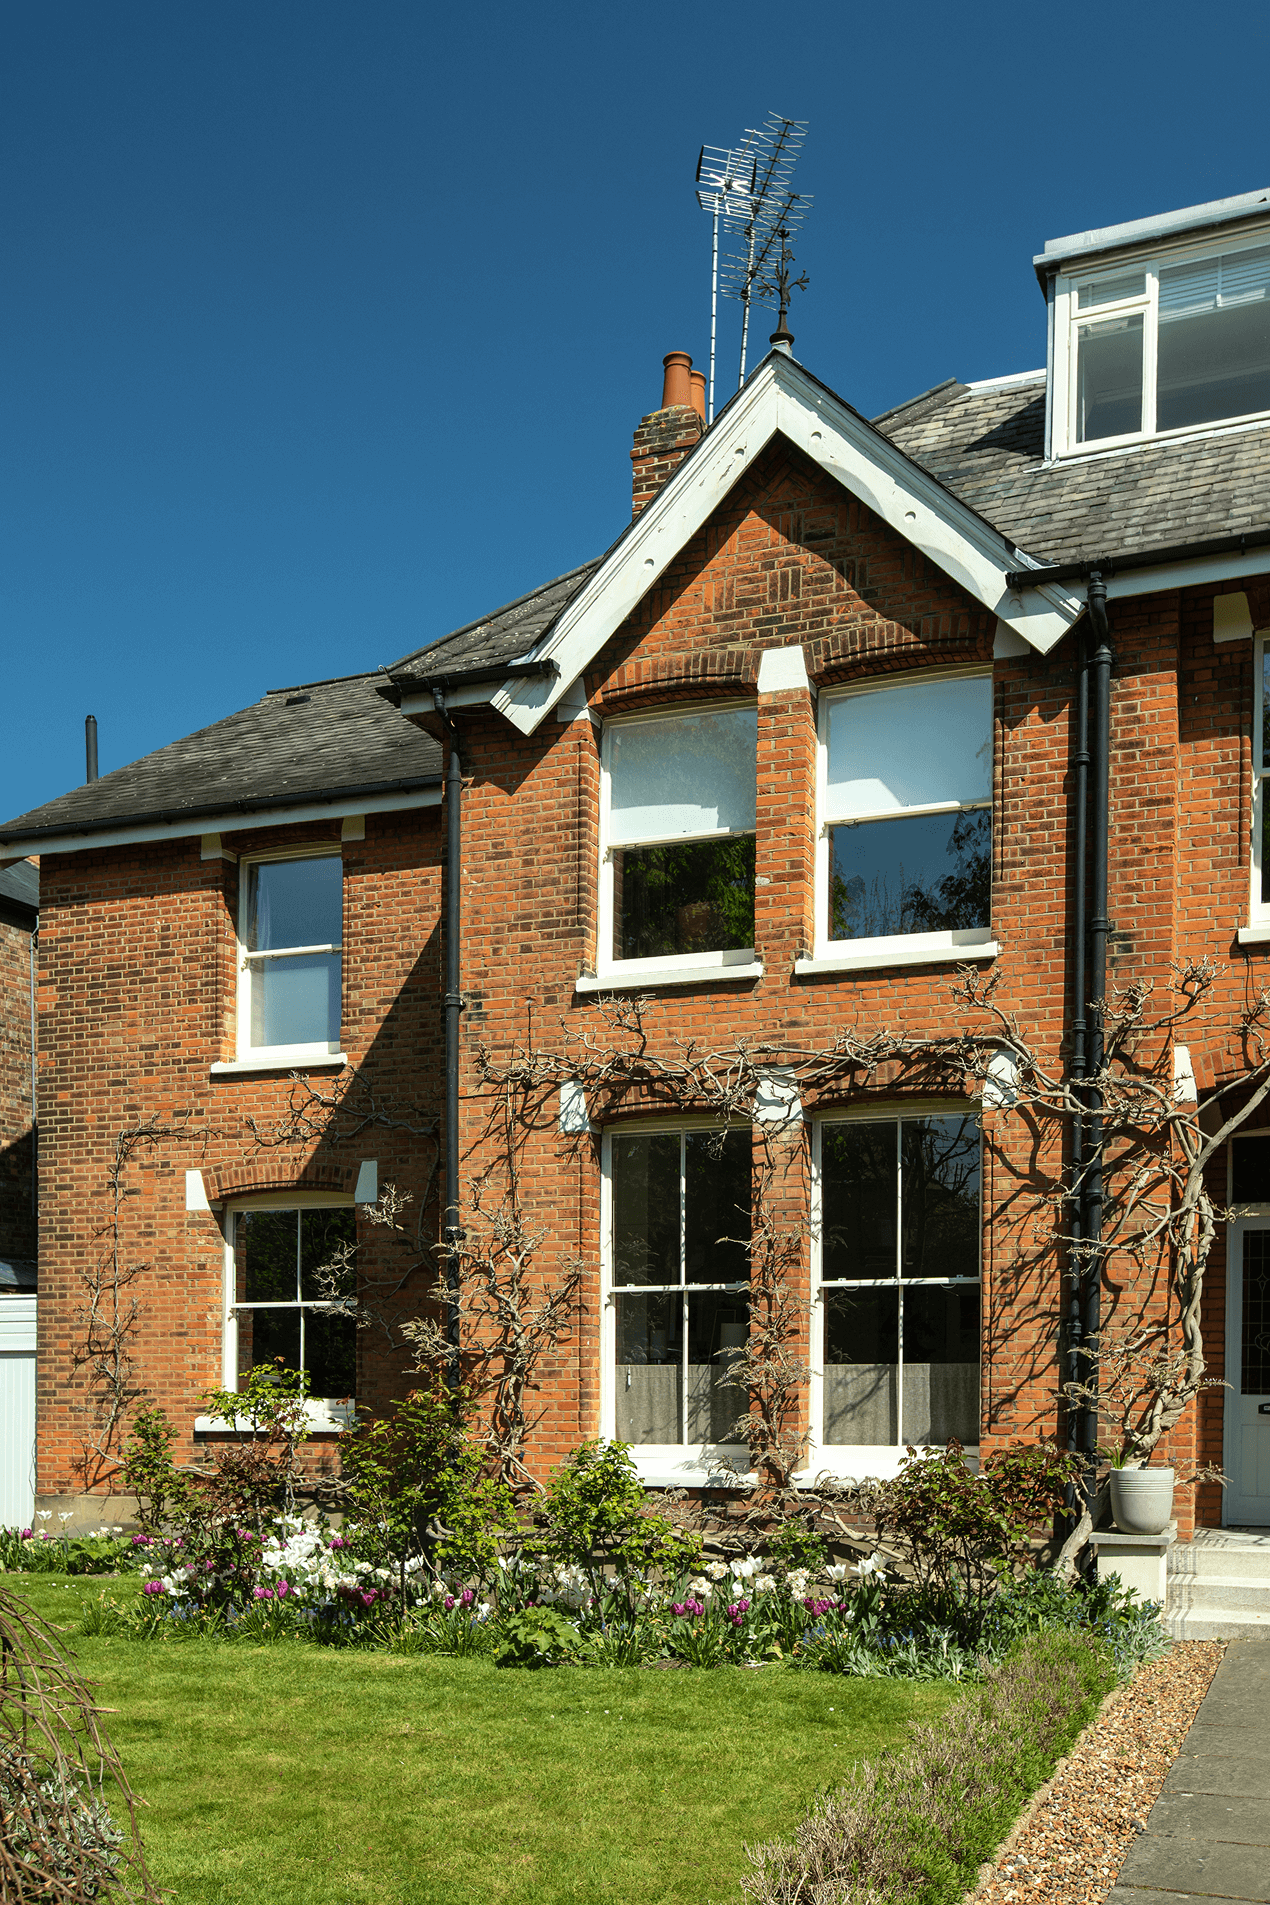
3. Kerb appeal
Sash windows are such a prominent feature of any home, and a fresh coat of paint can significantly improve its overall appearance – making your home look clean, bright and well maintained. Whether you choose new colours to match your home’s exterior or simply refresh the existing colour scheme, repainting your sash windows can enhance your kerb appeal and potentially increase your property value.
4. Improved energy efficiency
Did you know that repainting your sash windows can actually help improve your home’s energy efficiency? Repainting your sash windows helps maintain a tight seal, reducing drafts and heat loss during the colder months – leading to lower energy bills and consumption.
5 expert tips for repainting your sash windows
Repainting your sash windows can be such a rewarding DIY project to complete, enhancing both your home’s aesthetics and functionality. But how do you make sure you’re getting it right? Here are 5 tips to help you achieve a perfect, professional-looking finish to your sash windows.
1: Consider weather conditions
When painting any exterior feature of your home, including sash windows, you need to do so on a mild day with temperatures between 10℃ and 30℃ and low humidity. Avoid painting on windy days or days when rain is expected, as this could affect the paint’s drying time and the quality of the finished windows. If possible, you should also try to paint in the shade, as direct sunlight can cause the paint to dry too quickly, leaving brush marks and uneven coverage.
2: Preparation is key
Before you start painting, you need to ensure that your sash windows are clean and free from any dust, dirt and paint flakes. Give the whole frame a wipe-down with sugar soap and water, and use a scraper or sandpaper to remove any old paint and smooth out any rough areas. If you notice any signs of damage or decay in your sash window, this is your time to fix it or call for a professional.
3: Choose the right paint and primer
When choosing to repaint your sash windows, you should prioritise investing in high-quality paint and primer – especially for exterior painting. Find a primer with built-in damp sealing, mould prevention and adhesion properties, to both create a smooth base for your paint and add an extra layer of protection for your windows. Water-based paints are often preferred for repainting sash windows, as they are easy to use when DIY-ing and have a quick drying time – just make sure that the paint you purchase is also suitable for outdoor use, to protect your windows from the elements.
4: Protect the surrounding areas
Once you’ve prepared your sash windows to be painted, you should make a conscious effort to protect the areas surrounding your windows. This includes applying masking tape or painter’s tape around the windows, to create clean, crisp lines, and plastic sheets to prevent paint splatters and drops from covering your brickwork, adjacent walls and ground below. This protection will not only provide a more professional finish to your DIY repainting, but will save you loads of time and effort cleaning up afterwards.
5: Apply thin coats of paint
When you get to repainting your sash windows, it is better to apply multiple thin coats, rather than one thick layer all at once. This will give your windows a more professional and smoother finish, preventing drips, runs and uneven or lump coverage. Make sure to leave ample time for each layer to adequately dry, following the manufacturer’s instructions.
Maintaining your painted sash windows
Maintaining your newly repainted sash windows is going to not only expand the lifespan of the paint, but also of the structural integrity of your windows. We recommend that you regularly check in on your windows, such as when you give them a clean, to identify any signs of wear or damage. This could just mean that your windows need a quick paint touch-up, or you may need more detailed repairs. However, by keeping your sash windows maintained, you could save yourself more complex issues and repair or replacement costs further down the line.
To learn more about what sash windows are, head over to our informative journal or contact our expert customer service team – today!

